

Cake + Icing + Melted Chocolate = the glorious dessert invention that is… CAKE BALLS!
Some people spend the holiday season making batches of cookies. I spend it rolling cake into balls and dipping them in chocolate.

Ingredient List:
Boxed Cake (and the ingredients needed to make it: eggs, oil, water)
Canned Icing
Candy Melts
Melting Crystals (optional)
Candy Melter, Double Boiler, or Microwavable Bowl
Step-by-Step Instructions:
Follow the instructions on your boxed cake mix and bake a cake. Allow it to cool completely.

Once your cake is cool, transfer it to a big bowl.

Add your canned icing to the bowl. Use between 1/2 and 3/4 of the can. The more you use, the creamier and tastier the cake balls are. However, it does make them harder to dip. So it’s a matter of preference. I’m heavy-handed on the icing.

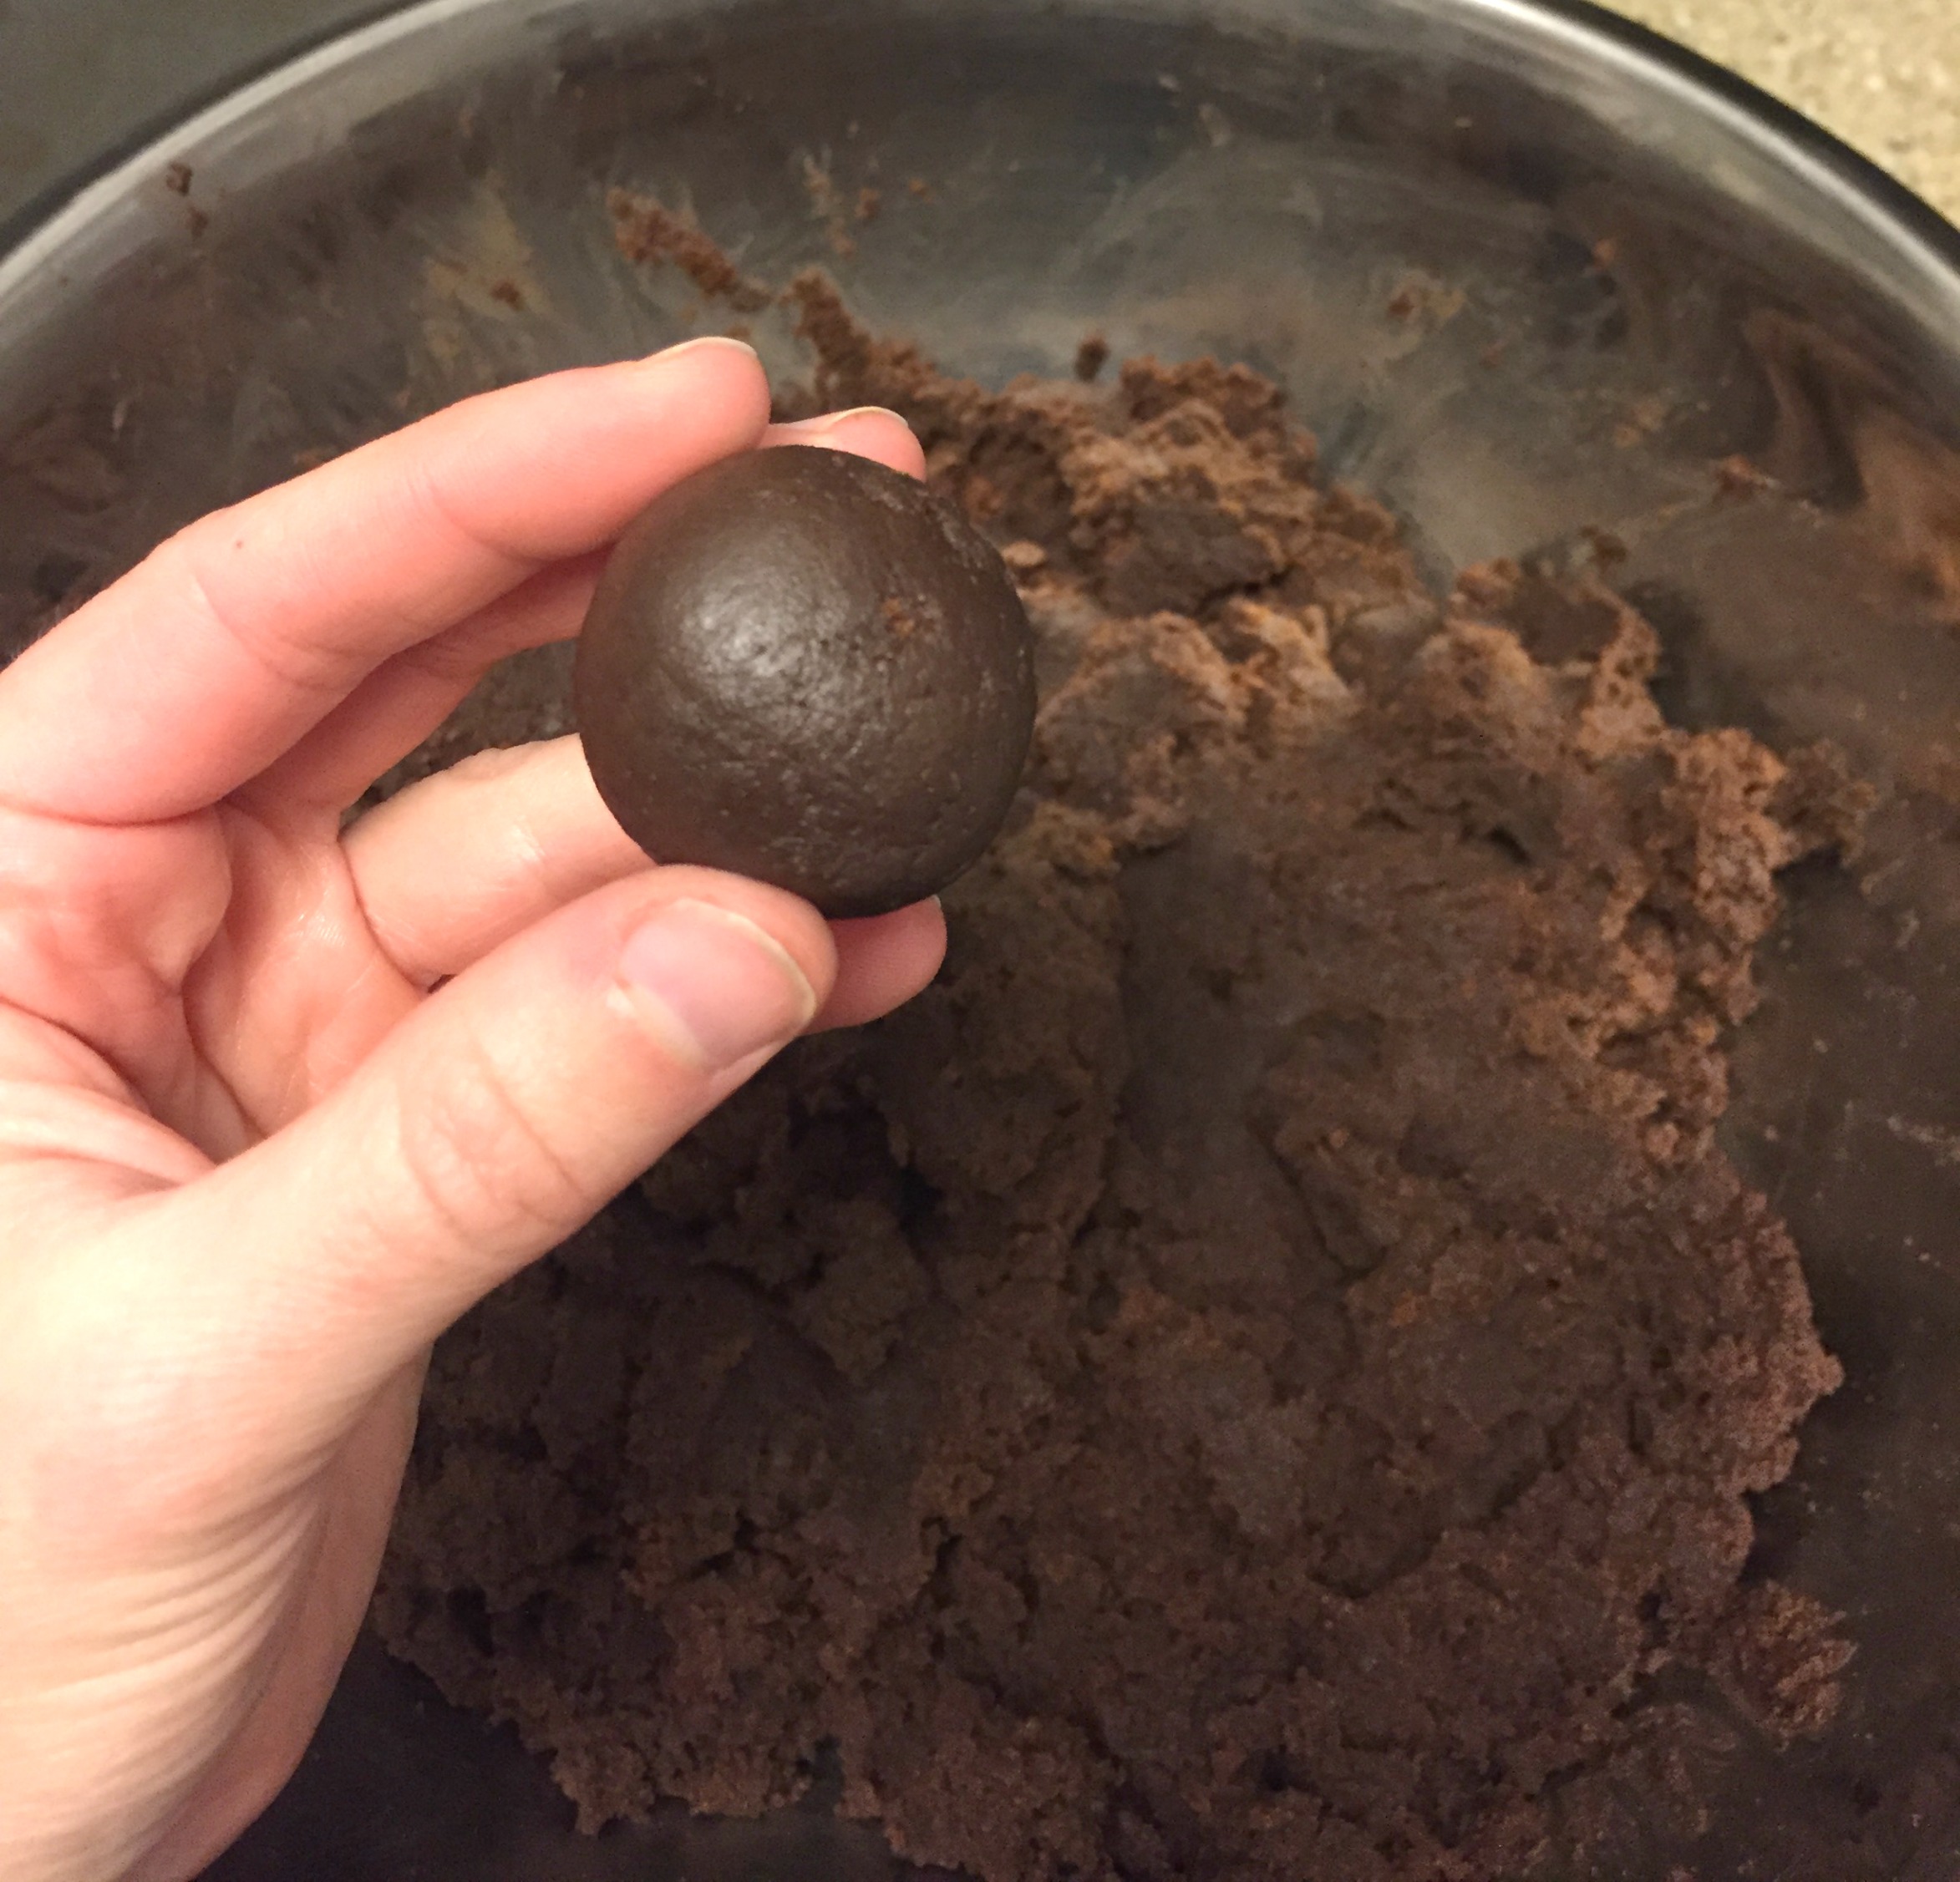
Now for the fun part. Use your (washed) hands to mash and mix the icing and cake together until it’s moldable.

Once the mix is moldable, start rolling it into balls.

Transfer the balls to a plate or tray and refrigerate them for at least 30 minutes.

Heat your candy melts in a candy melter, double boiler, or microwaveable bowl.

Add some melting crystals to the mix to thin it out and make it easier to work with. I highly suggest the melting crystals. Especially because Wilton seems to have changed the Candy Melts recipe and they don’t melt nearly as easily as they used to.

Once your candy melts are heated and your cake balls are cooled, start dipping. I’ve used many methods in the past, but I’ve found the double dip method the easiest. I start by dipping the balls halfway into the melted chocolate and placing them on a cookie sheet covered with parchment paper. I let them dry like that.

The candy melts dry very quickly. By the time you’ve dipped the whole batch, you should be able to go back to the balls you started with and dip the other side. Grip them from the side that’s already been dipped, dip the remaining exposed cake, then put them back on the parchment paper the same way you did before. You can tap your hand on your other palm to smooth out any candy lumps before they dry. Try to cover the exposed cake as best as possible. It makes them last longer and look better. Sometimes I accidentally leave a sliver of cake exposed and it’s kinda ugly. So I just eat it.

The process can be a little tedious, but it’s totally worth it. You can mix up the cake, icing, and candy flavors to create your favorites. To be honest, the chocolate, chocolate, chocolate is the most popular kind I make. I brought cake balls to a family function at the in-laws a few years ago, and they’ve requested them every year since. This is the state of my kitchen right now…

Enjoy!
Other Cake Decorating and Gingerbread Posts:
Construction Grade Gingerbread Recipe (for building, not eating)
Gingerbread Recipe (for eating and building)
Reindeer Playing Poker – National Gingerbread House Competition 3rd Place Winner
Santa’s Gingerbread Mountain Chalet
Cardinal Family Christmas – Gingerbread Birdhouse
Gingerbread House Construction Tips
In some instances, I may include affiliate links in posts where I recommend specific products. If you purchase something through one of my affiliate links, I receive a small commission at no extra cost to you. These links are always disclosed.