

I started my Garage Makeover Series about a million years ago. The “mudroom” entrance was on my radar for a while but vaulted to priority #1 a few months ago after I tripped over my shoes AGAIN. Check out what the situation was.

This picture embarrasses me. I didn’t even stage it. Even time someone bumped the rickety little shoe rack next to my door (every day), half the shoes would fall off and land on the steps. Eventually, I stopped putting the shoes on the racked and just kicked them off into a pile in front of it. Utter chaos.
I decided to put a stop to the madness. The other side of the door wasn’t much better.

Pathetic.
Materials List:
Organizer Units (I bought mine from Target)
Wood (Bench – I used 1x3s)
Four 1x3s (Vertical Slats)
One 1×4 (Horizontal Slat)
One 1×6 (Shelf)
Wood Screws
Brad Nails
Hammer
Power Drill/Impact Driver
White Latex Paint
Paint Brushes/Rollers
Dry Cloth
Steps:
I started with two organizers to use as shoe racks I bought from Target. I considered building my own, but this was a project born of immediate necessity and that would have required a longer time commitment. So I just took the easy route.

I built the shelves using the instructions included in the box and lined them up side by side against the garage wall. I used the included hardware to secure them to the wall.

I went through my scrap wood pile and found a few good pieces of wood to use as a bench on top of the shelves.

I used my miter saw to cut them down to size.

I used a hammer and some brad nails to attach the wood directly to the shelves.

I went through my cabinets and found a nice English Chestnut Wood Stain.

I used one of my used t-shirt scrap cloths to wipe the stain onto the bench wood.

I repeated that step using a layer of polyurethane after the wood stain dried.

I cut some 1×3 wood planks into four pieces of equal height. I added another plank across the top that I cut from a 1×4. I wasn’t specific about my measurements. I just kind of eyeballed it and made sure everything was even. I used my stud finder to find as many studs as possible for securing the wood to the wall, but the screws only went through drywall in some places.

Once my border was up, I added a shelf. I used two wood corbels and a piece of 1×6 wood that I had in my scrap pile.

I hung the wooden brackets on the wood border and placed the shelf on top of that. I drilled wood screws into everything to make it as sturdy as possible.

I started filling in all the holes and seams with spackle. I did this on the drywall and the wood.

I let everything dry for a few hours and sanded it all down lightly.
I used a dry cloth to wipe the dust off the surfaces, covered the bench wood with a plastic sheet, and got to work painting. I started with a layer of primer on everything.

I let the primer dry then lightly sanded it. I wiped away the dust with my dry cloth and applied another coat. Once the second layer dried, I sanded and wiped it again. Then I painted two layers of regular white latex paint.

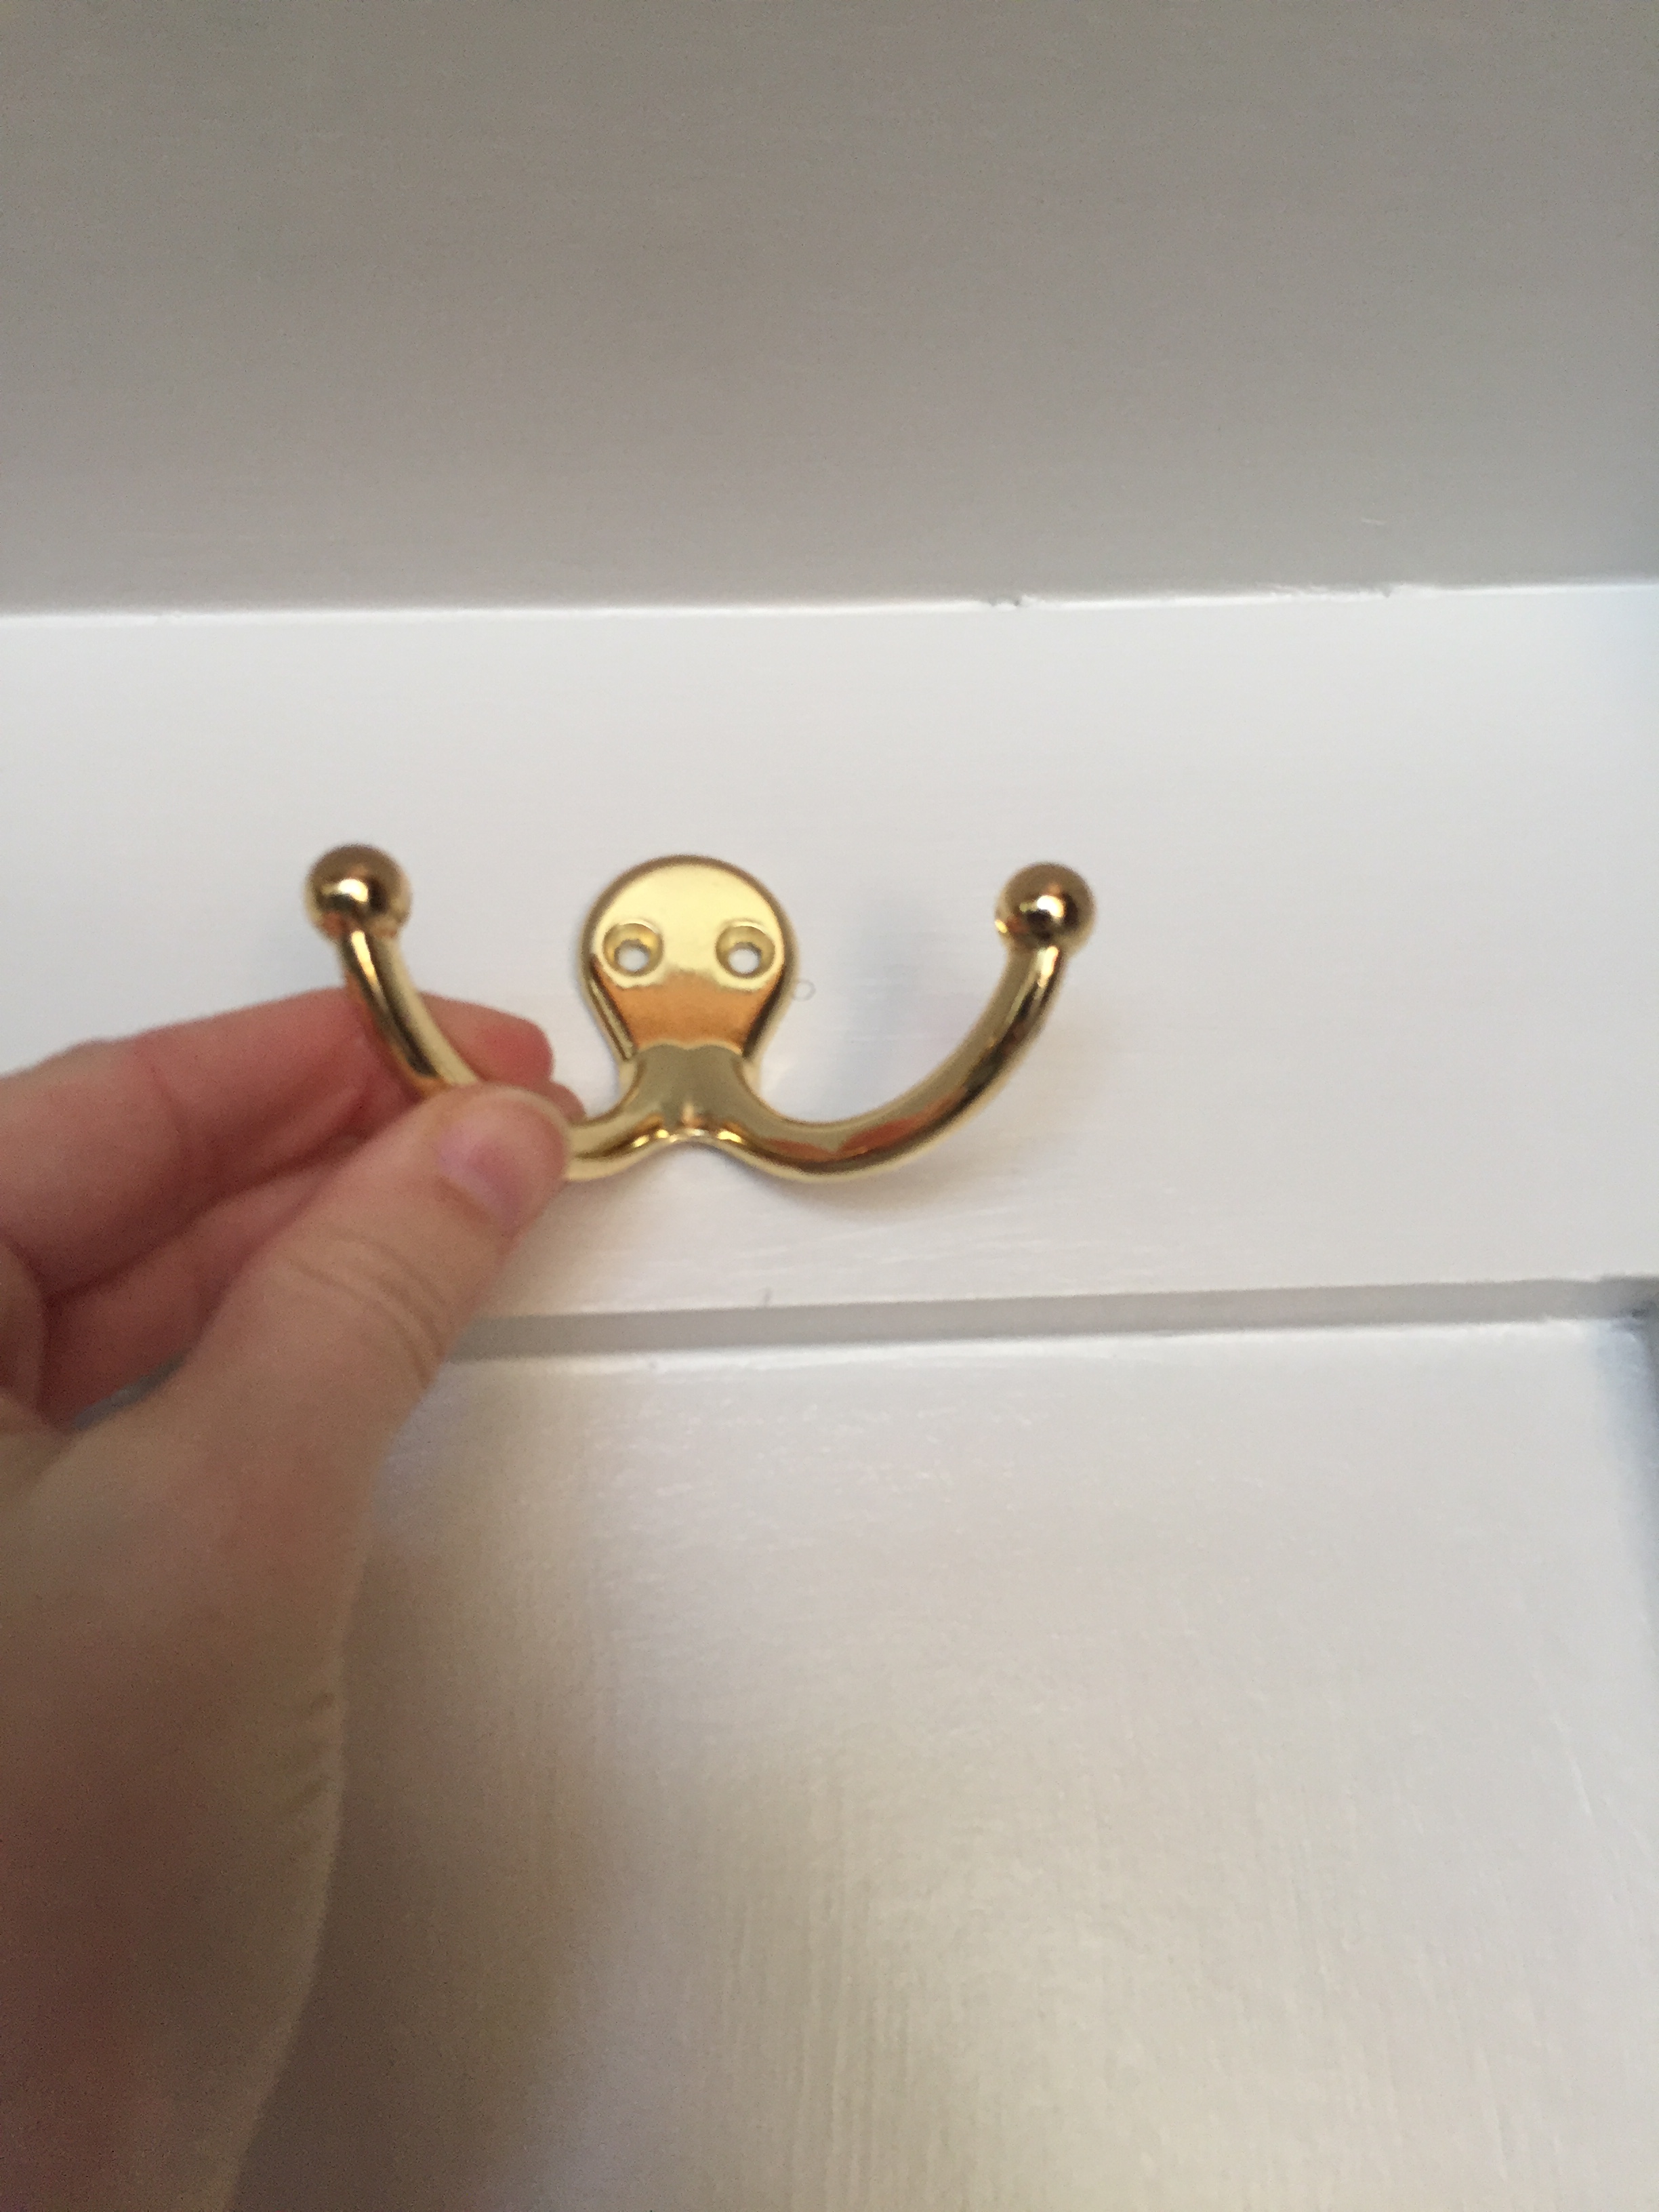
I gave the paint a few days to completely dry. In the meantime, I purchased some shiny gold double clothes hooks. I got mine from Lowes, but the Amazon ones look similar.

I measured out where I wanted to place them and marked the spots to drill the holes.

I screwed them straight into the wood on the top border below the shelf.

I removed the plastic covering the bench and organized all our shoes.

Huge improvement!
Now I have a place to put my shoes that won’t be in anyone’s way. The bench and the wall hooks should come in handy as well. If only I had the time to spackle and paint the entire garage so the ugly, old, mismatching drywall wasn’t visible…
Garage Makeover Series
Part 1 – Preparing for Drywall (Cement Board Installation)
Part 2 – Building Custom Shelves
Part 3 – Building a Workbench
Part 4 – Installing Drywall
Part 5 – Mudroom Entrance
Part 6 – Building Another Work Bench (that rolls)
In some instances, I may include affiliate links in posts where I recommend specific products. If you purchase something through one of my affiliate links, I receive a small commission at no extra cost to you. These links are always disclosed.